 There are several ways how to start a knitted shawl from the middle of the neck and there are at least as many different instructions for it. Here you’ll find my method, which is very simple and genius, and after all, no one can’t even notice how it has been started. The starting point is almost exactly similar to any part of the shawl. The first cast on and starting may need some concentration, but you’ll get familiar with it soon. I have used several different variations of this method during the last years and I’m going to publish different shawl designs to teach this method and its variations to you, too.
This is the first published version of Arteeni’s method. I have used it in the Lá Breá shawl I published recently. I hope it brings you a lot of joy and success experiences! And don’t be afraid about the long instruction, I just have described it quite precisely step by step with written instruction, photos, and with video.
Tools:
- yarn for the shawl
- circular needles (or 3 two-point needles)
- Shawl pattern, i.e. Lá Breá or your own design (it makes good to give a chance for the yarn to guide you every now and then)
Used techniques:
- Stitches will be cast on with the same method that is often used when starting a socs from the toe-up. You’ll learn this method at the same if you weren’t familiar with it already.
- -> Arteeni’s method
You won’t need:
- Any kind of provisional cast-on
- Pick up any stitches
- Any kind of Kitchener’s techniques
Shawl anatomy
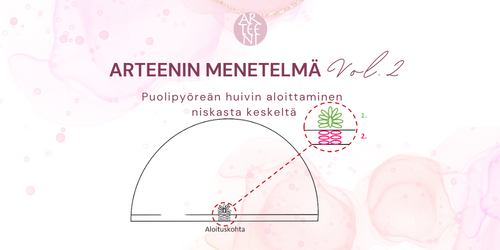
The Shawl is started from the middle of the neck. There is a three-stitches border. Yarn-overs will create the shape of the shawl made on the right side in the beginning and after each half of the shawl. In the very beginning, it might be a bit challenging to understand the shape of the shawl, but after a few more rows, it makes sense. Between both of the sides is a middle stitch, which you can mark with a stitch marker if it helps you to recognize it. You can also mark the right side of the shawl as both right and the wrong sides are quite similar.

With Arteeni’s method, you’ll create 7 stitches at once so that the first and the last three forms the border, and the middle stitch will be a base for the shawl itself (both halves in addition to the middle stitch).
Arteeni's Method
The instruction below is for right-hand knitters. If you are left-handed, please imagine the mentioned hands opposite way.
Cast-on
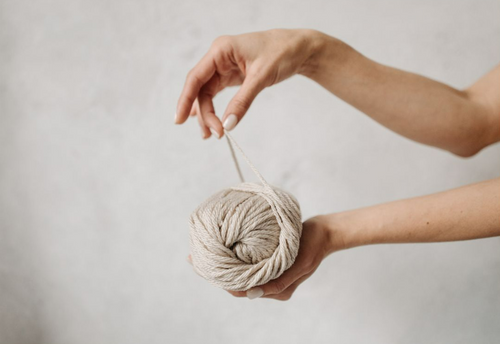
- Hold the yarn in your left hand similarly than when starting a long-tail-cast-on. The tail doesn’t need to be that long; 10-15 cm is enough. Hold the needles side by side in your right hand, the needle closer to you is number one and the other is number two.
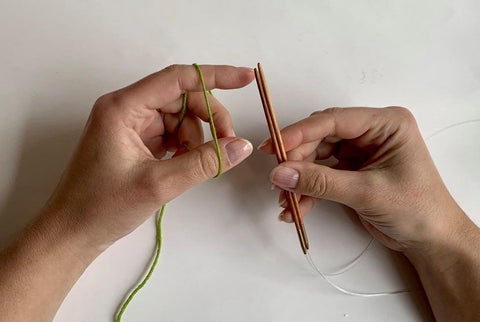
- Create a starting stitch by taking the needles through the yarn in the direction of your left-hand-fingers (from the writs towards the finger points) so, that the yarn will remain between the needles. Twist the needles back to a normal position and the yarn will be wrapped around the needle (the yarns will cross under the needles and the pointing-finger-yarn is on top and the thumb-yarn below).
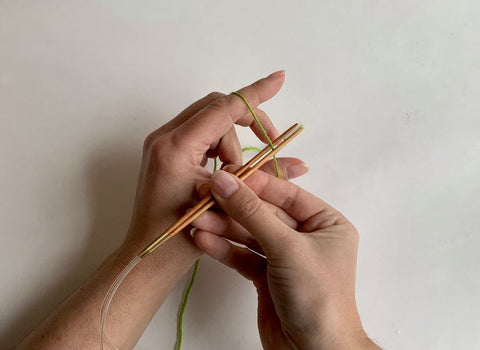
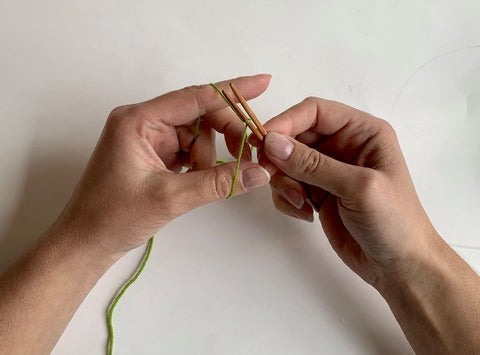
- Hold the starting stitch with your thumb/finger not to lose it and cast on the stiches alternately on the needles always with the opposite yarn regarding the needle:
3.1 Bring the thumb-yarn between the needles to the front and turn it around the second needle.
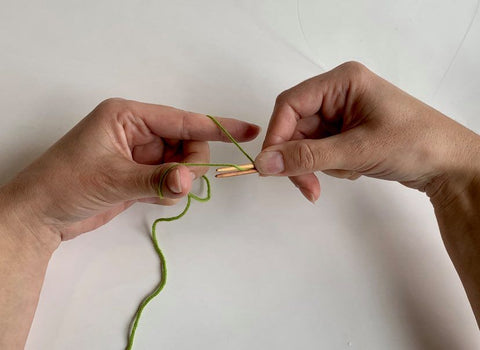
3.2 Bring the pointing-finger-yarn between the needles to the front and turn it around the first needle.
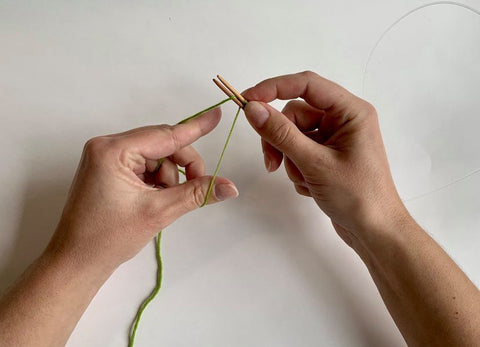
Repeate 3.1 and 3.2 as many times that you have four stitches on the first needle and three on the second needle; altogether seven stitches.
 IF you forget on which needle or yarn you should cast on the next stitch, you can just check the yarns crossing under the needles; last stitch yarn is on the top and next stitch yarn is under; just follow to which finger or thumb the yarn will guide you.
After you have cast on the stitches, the Right Side is on the top and the Wrong Side behind. The sides are easy to recognize now, as the yarns on the right side are nice and neat and on the wrong side there are similar bumps and there are with the purl stitches. The first and the last three stitches form the border and the middle stitch will be a base for the shawl itself.
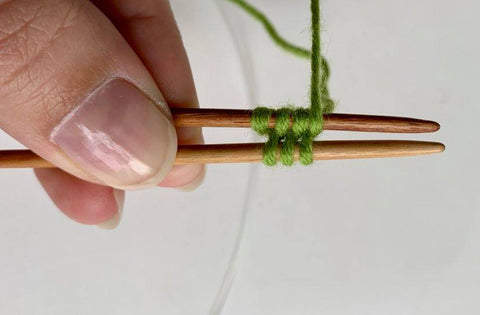
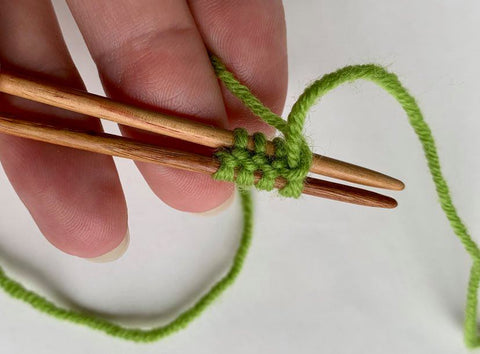
After the cast-on, it's easy to recognize the right side and the wrong side.
Knitting
This follows Lá Breá -pattern beginning on row 2. Lá Breá is made as garter stitches (just knit, no purls at all). The increases (yarn overs) will be done on the right side and the wrong sides are just knitted.
Terms
RS right side
WS wrong side
st/sts stitch/stitches
k knit
yo yarn over
2nd row - WS: start from the needle where you have three stitches; knit
3rd row – RS: k 3 border sts, yo, k middle st, yo, k 3 borders sts
4th row – WS: knit
5th row – RS: k 3 border sts, yo, k 1, yo, k middle st, yo, k 1, yo, k 3 border sts
6th and the following WS rows: knit
7th and the following RS rows: k 3 border sts, yo, k 1-half sts, yo, k middle st, yo, k 2-half sts, yo, k 3 border sts
Continue according to the shawl pattern or by repeating the rows 6-7. In practice just knit the wrong sides and on the right side make yarnovers always before and after half stitches, otherwise just knit.
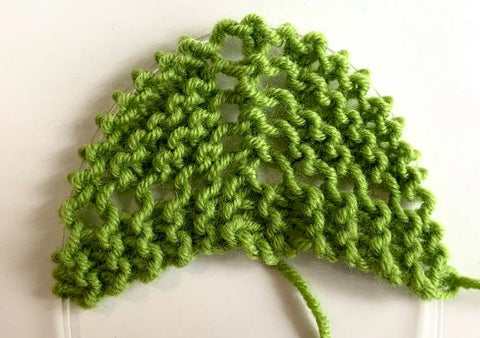
Beginning of the shawl made by Arteeni's Method.
Video tutorial
Do you learn easier by watching a video? If so, here you are!
Do you want to try this in practice?
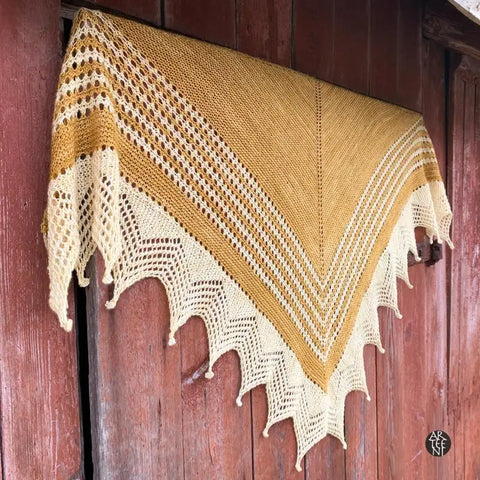
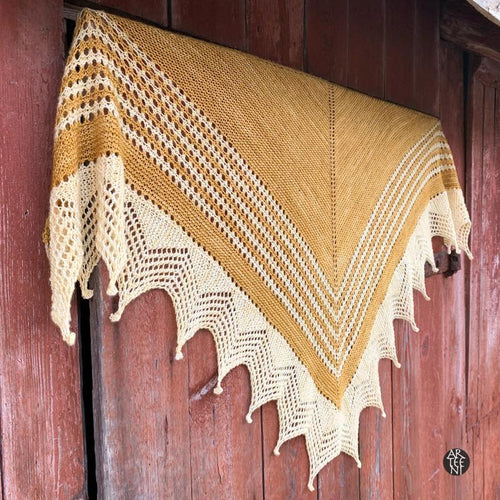
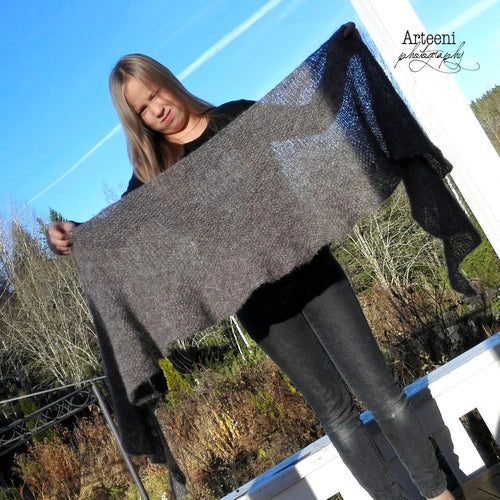
This Arteeni's Method is used in the newest Arteeni's knitted shawl Lá Breá. It is a lovely shawl that takes you to a neat twip to Irland. Check it here!
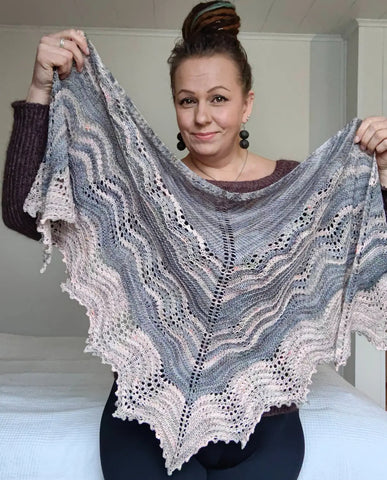
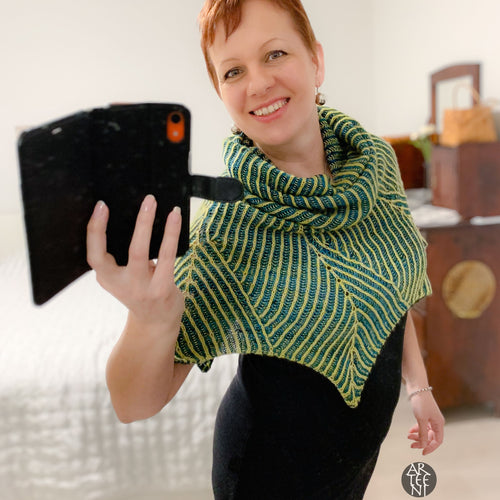
Parisian Café shawl has used the same method, enjoy knitting!













2 comments
Mahtavaa, kiitos kommentista Sirpa! Hienoa, että onnistuit näillä ohjeilla! Neulonnan iloa ja tuottoisaa huivisyksyä sinulle!
Sari
Kiitos, ensin vaikutti käsittämättömältä. Kuitenkin yhdellä istumalla pääsin kärryille ja harjoituskappaleen hyvään alkuun. Kerran aikaisemminkin olen tehnyt kolmiohuivin niskasta alkaen ja siinä noudatin ranskankielistä ohjetta. En käsitä miten se onnistui, mutta hyvältä sekin jälki näyttää. Kyseinen ohje on joutunut hukkaan, mutta ei hätää kun nyt voin tehdä tällä.